Showing posts with label New England. Show all posts

Wednesday, March 11, 2009

New England Clam Chowder


One item we usually order during the cold winter months in a family-friendly restaurant is clam chowder. New Englang style clam chowder uses salt pork for the fat source traditionally (or so I have read), and is rich with the use of heavy cream. Hubby loves his with lots of saltine crackers. With the exception of my stepdaughter, who is bent to believe she is allergic to all seafood, our family l loves clam chowder.

I tried to recreate it at home as this is one of the comfort foods in this area. I based this recipe on Cooking For Engineer's site, and gained approval from my picky husband.


Ingredients:

3 tbsp oil (rendered fat from salt pork)
3 cans (6.5 oz minced clams in clam juice)
1 (8-oz) clam juice
1 big (1-lb or so) russet potato, diced
1 medium onion, chopped
1 tbsp flour
1 cup heavy cream
1 cup milk
salt and pepper to taste
dash of ground basil (optional)

Instructions:

>


Drain clam juice off from cans. Set aside the juice.
Render oil from salt pork.
Sautee onion. Follow with diced potatoes and stir until potatoes are well coated with oil (this coating will help potatoes retain their shape and not easily crumble).
Sprinkle the flour and stir. Add the clam juice from draining, and the bottled one. Let boil. Season with salt and pepper (be careful as salt pork and saltine crackers are salty already).
Lower heat and simmer covered for about 20 minutes or until done, stirring occasionally to make sure potatoes don't stick to pan.
Add milk, heavy cream and clams, and heat without boiling (which will cause milk to coagulate and form clumps).
Enjoy with crumbled saltine crackers on top (or crumbled chicharon, like what my sons do).

(I served this tonight with potato peasant bread and fruit salad = combination of canned cocktail fruit, peaches, mandarin oranges, lychees, and palm seeds, topped with whipped cream.)

Monday, February 23, 2009

Eating Your Words


Tangled Noodle and Savor the Thyme posted this challenge to "write" or "spell" using food or drink. I thought it would be fun to join, although initially I could not think of what to "write."


Well, two nights ago, I was on duty, and my charge nurse warned me about the possibility of being RIF'ed after 10 PM (RIF=reduction in force, a cost-cutting measure where employees are asked not to come to work or go home if there are not enough patients). So when I came home after that duty, I resolved to sleep only 4 hours, thinking I must be able to sleep with my husband that night. However, as soon as I got to work, I learned that somebody else called out. That meant, I would have to stay and work the whole shift. Darn...

I told my charge nurse and the other nurse, "I feel sad that I can't go home....boohoo...my husband and I were planning on making whoopie tonight." And they laughed...Suddenly I knew what to "write" about.

You see, Mainers (or probably New Englanders) know the meaning of whoopie that is not the whoopie pie pictured above surrounded by the spelled whoopie.

Whoopie pies are my husband's favorite sweet snack, the reason why he gave me my Kitchen Aid stand mixer. He cannot eat the ones available in stores because "they don't make it the way Mom does." The difference being that his mom's recipe makes use of fresh egg whites for the filling; those sold in stores use fluff. His request then was for me to learn how to make whoopie pies from his mom, and I gladly obliged. Now I am making them as well, although I tweaked the recipe to make double batch, and to make use of egg yolks in the batter instead of throwing them away after making the filling.

While baking these, my husband was eagerly waiting, and as soon as I took the above photo, he was standing beside me and saw it, laughed, and asked if he could have that one in the middle (the first one assembled as whoopie pie), which of course he could. He took a bite and said, "You make the best whoopie pies." Now the letters are sandwiched and hidden...My fridge is stocked with them whoopie pies, which will probably last 2-3 days...Hubby and older son particularly like eating them with milk, I with coffee.

Whoopie pies are very popular here in Maine, but I make them only about twice a year or so because they are heavy on cholesterol and sugar...and this way, they are a real treat when I do make them.

And yes, hubby and I are making whoopies tonight. :)

Recipe can be found here.

UPDATE:
Round-up of the entries by the challengers is posted here and here.

As a reward for participating in the fun event, I got the following badge!


Thanks to Savor The Thyme and Tangled Noodles for hosting this challenge!


Posted by Picasa

Thursday, November 13, 2008

Corned Beef

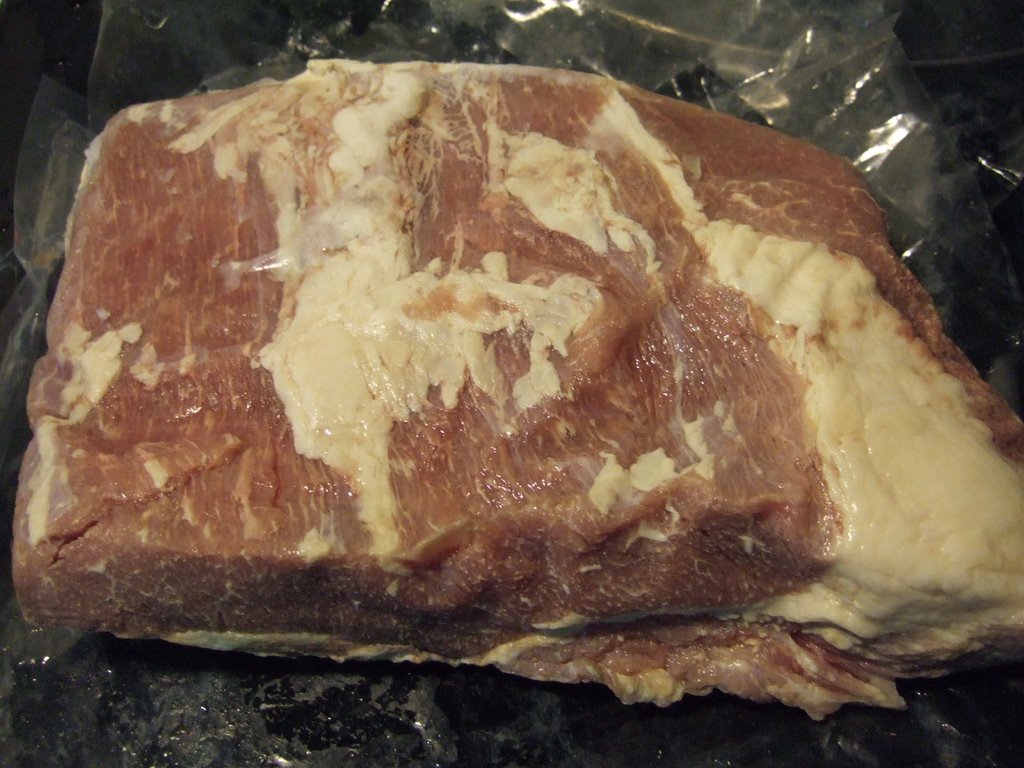
As a Filipina who grew up in the Philippines, my favorite corned beef was the Argentina brand. All I knew of corned beef then was that it came canned. I was surprised when my MIL once handed this slab of corned beef. I just had to look up on the internet what really was corned beef, and here's my answer:

"Old-time butcher shops closed every weekend. Ice, the only refrigerant available, could not dependably hold fresh meat for two days. To keep unsold meat from going to waste, the butcher soaked the meat in a strong brine or covered it with coarse salt to trigger osmosis. The grains of salt were called "corn" in England, and the name "corned beef" stuck with the product.

Corning is a form of curing; it has nothing to do with corn. The name comes from Anglo-Saxon times before refrigeration. In those days, the meat was dry-cured in coarse "corns" of salt. Pellets of salt, some the size of kernels of corn, were rubbed into the beef to keep it from spoiling and to preserve it.


Today brining -- the use of salt water -- has replaced the dry salt cure, but the name "corned beef" is still used, rather than "brined" or "pickled" beef. Commonly used spices that give corned beef its distinctive flavor are peppercorns and bay leaf. Of course, these spices may vary regionally."


Source: carnegiedeli.com

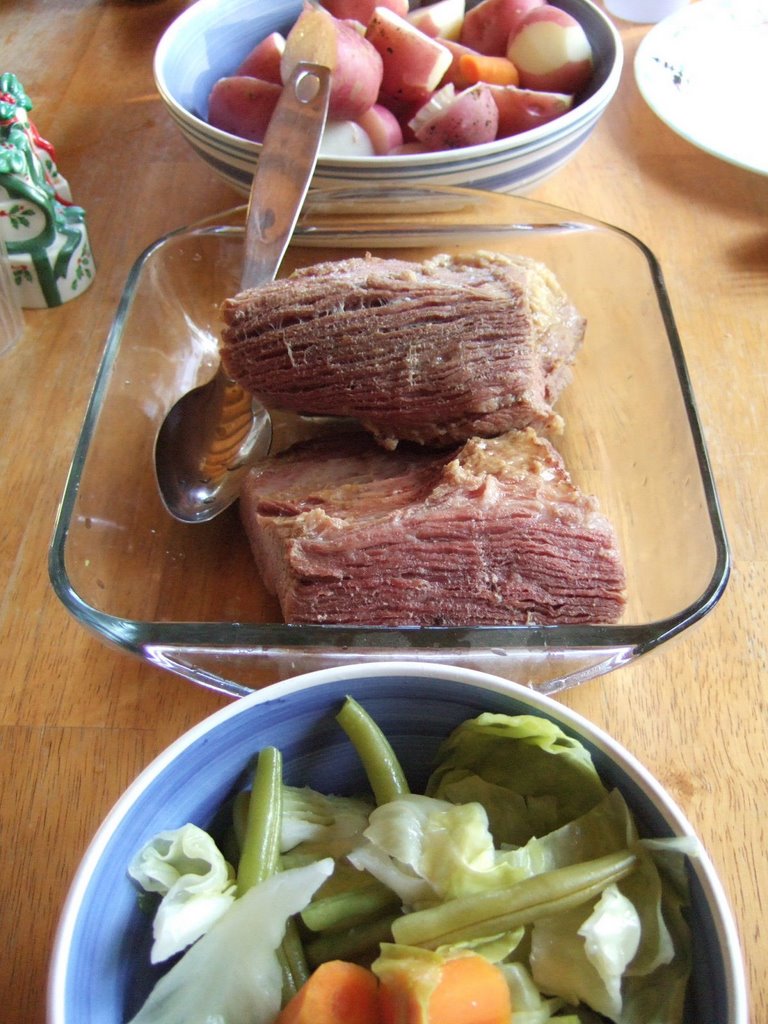
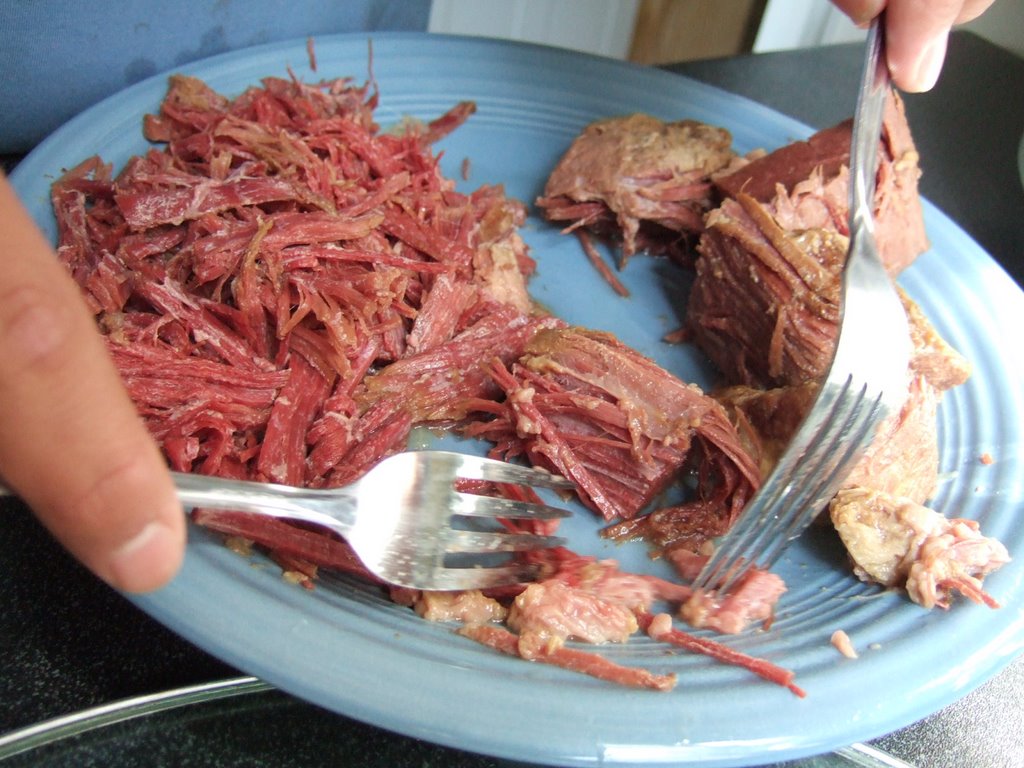
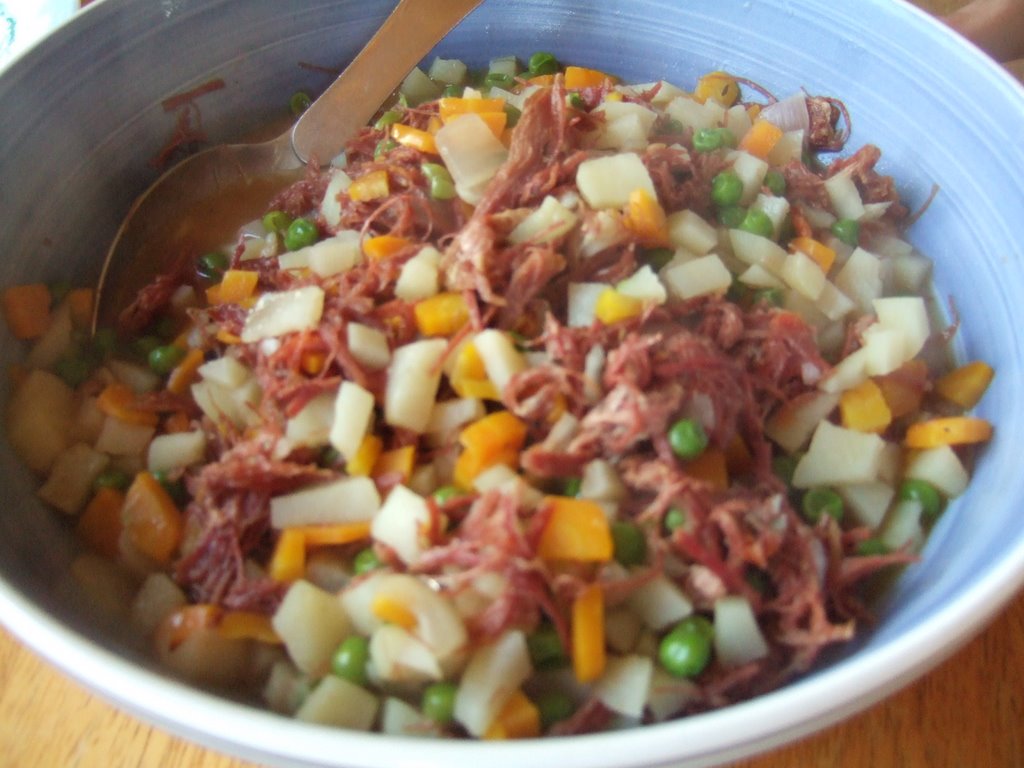
So, I asked my hubby how they usually prepare this one (any Filipino would know a different way of enjoying canned corned beef -- sauteed with garlic and onions). Apparently they prepare this only as New England Boiled Dinner. Translated to Filipino cooking: "Nilaga" with the typical veggies potatoes, carrots, and cabbage. So that was how I prepared this slab of corned beef. It was different but very good! We did have a lot of leftover (this slab could feed two or three families!). So, I tried to mimic the corned beef I knew by shredding then sauteeing with some veggies as shown.

For those who might be interested, corned beef slabs are available in grocery stores.

I remember another thing I used to do with Argentina corned beef -- as filling for the dough used for pan de coco. I used to just mix chopped medium onion with 1 small can of Argentina corned beef, then proceed with using this as filling before I bake the rolls. I used to sell them when I was still going to school, and they were always sold out.

I still miss Argentina corned beef...

Thursday, October 02, 2008

Maple Syrup Making

Have you tasted real maple syrup??? We love them, but oddly, my stepdaughter prefers the fake syrup.

My in-laws usually tap maple trees around the month of February to start collecting the clear sap into buckets that will later on be boiled to reduce into what we commonly know as maple syrup.


Any Filipino exposed to the Western influence knows about pancakes and waffles eaten with syrup (usually karo, made with high-fructose corn), but usually do not have a clue that there is such a thing as real maple syrup, and that this is derived from trees! (One of my friends sent me a message telling me that after he saw a webpage I made during the pre-blogger times.)

See more of how maple syrup is prepared on the slideshow below.

A good resource in making your own is found here.

Sunday, July 08, 2007

Whoopie Pies

These, in my opinion, are more like soft cookies, or small cakes, instead of pies.

The photos shown below were taken way back in 2004 (payat pa ako nun). One picture shows my niece when I was receiving the lesson from my MIL and we were in my SIL's house then. The rest of the photos were during my first try to bake them.

Whoopie Pies are a favorite of my in-laws, and my husband gave me a Kitchen Aid standing mixer on our first Christmas together that I may learn how to make them for him. "You can never buy them the same from any store around," he says. And I guess the reason is that we use fresh egg whites for the creamy filling. The commercial ones taste like plain lard mixed with confectioner's sugar and vanilla (yuck!).

Caution: If you do not trust the freshness of the eggs, I do not recommend that you try this recipe. If you can get fresh eggs from a neighboring farm, then by all means, make these! (that is, if you are not allergic to eggs nor is your tummy squeamish)

Ingredients:
Filling -
2 1/4 cup shortening
6 cups confectioner's sugar
6 egg whites
3 tsp vanilla

Dough -
1 cup shortening
2 cups sugar
6 egg yolks
1 whole egg
2 cups milk + 2 tbsp vinegar
8 heaping tbsp cocoa
2 tsp baking soda
2 tsp baking powder
1/2 tsp salt
4 cups flour
2 tsp vanilla

Instructions:
Filling -
1. Cream (beat together) the shortening and sugar well under moderate speed.
2. Add egg whites one at a time under slow setting, gradually increasing in speed until high.
3. When fluffy and forms soft peaks, turn speed to moderate then add vanilla and increase speed again until the right spreading consistency is achieved. Place in a ziploc bag then put inside the fridge until ready to use.

Dough -
1. Pre-heat oven to 350 deg F.
2. Cream the shortening and sugar first. Beat well.
3. Mix all dry ingredients in a separate bowl.
4. Add eggs/egg yolks one at a time to the creamed sugar and shortening and beat on low going to medium until lemony creamy.
5. Alternately add the dry ingredients and the milk-vinegar mixture under low setting into the cream. Scrape bowl with spatula from time to time.
6. Add vanilla.
7. Place in ziploc bag. Cut one corner of the bag and squeeze out about 1 tbsp of dough onto baking pan lined with aluminum foil (makes it easier to change pans if you make bigger batches), 2 inches apart.
8. Bake for 10 minutes.
9. Cool on wire rack for 10 minutes.
10. Put the filling and sandwich between two cookies.
11. Refrigerate those which you will not consume right away. (Remember, there are raw egg whites there).
Custom Search