This is a re-posting from my Old Kusina. While this seems off-season in that I usually do canning in the fall, I figure it won't hurt to show this here at this time, so those who will try can plan ahead for what they want to plant in their gardens. (I usually have gardening catalogs during Jan-Feb. My MIL orders as early as Feb or Mar to start her seedlings indoor in April). It is best to can veggies yo yourself grow in your garden, and start the process on the very day you harvest your produce. (Although an exception for me is canning tomatoes. Sometimes I harvest my tomatoes as soon as they have red/yellow/orange streaks and let them ripen inside the house to avoid being attacked by slugs, then I process them).
During the winter of 2003-2004 my dear MIL gave me a quart of this BBP. (She gave me a jar of dill pickles prior to this.) She said her husband likes it so much that he can finish the whole quart in two weeks, and that he can't eat any roasted meat without it on the side. I tried it right away, and that day I decided that I had a new favorite pickle. The closest Filipino pickle that tasted like BBP is the atsara, but my! This one is a lot better! (I have tasted several atsara preparations in the PI, some with carrot slices, some with bittermelon slices (ugh!), and some just the grated papaya with onions and the brine. The best atsara I have tasted was the one that went along with Baliwag lechon manok, if my memory serves me right.)
That summer of 2004 when it was harvest and canning time for the cucumbers from my vegetable garden, I was so eager to learn how to make BBP. I first learned canning the dill pickles first, which was harder and fussier when it comes to processing (have to maintain at a point just below boiling). This one is way too easy...just half-cook the cucumbers and can. No more processing needed! The pure vinegar-sugar combination (as in no water) does not encourage growth of Clostridium botulinum and other microbes while the jar is not yet opened.
Browsing some websites about BBP, I learned that many required other ingredients not in this recipe from my MIL's canning book. Some required processing in a boiling water canner. MIL says you can't buy these at the grocery stores, and if ever you find one, they are not as good as what we are making. She first had a taste of this from a friend who shared with her the recipe.
Others are just so mushy and not as pleasantly tasting as these.
So, for those who are planning on planting cucumbers next summer, you might want to make these pickles. Your spouses might prefer the dill pickles (as mine does), but you will surely love this if you love atsara. Now for American wives to Pinoys, if your hubby likes atsara (pronounced ah-cha-rrra), they will surely appreciate this. For Filipinos in PI, you might want to try making these as substitute for atsara. Best served with roasted chicken. Also goes well with burgers and hotdog sandwiches. I love giving these away as Christmas gifts to friends. My friend Ana can finish a jar the very day she gets one from me.
Equipment:
knife
chopping board (better if you have a mandolin or a slicer either in food processor or as attachment)
nonreactive stockpot (stainless steel)
Jars and closures
magnetic picker
wide stainless steel funnel
Ingredients:
25 pickling cucumbers
8 fist-sized yellow onions (or the equivalent amount)
2 red and green bell pepper (1 each, or 2 bell peppers plus 1 small jar of pimento)
1 cup canning salt
For the brine:
12 cups sugar, dissolved in 12 cups vinegar
1/2 cup mustard seed
6 tsp ground turmeric
Instructions:
I did this in two consecutive days.
Day I: Preparation


Do on the same day of harvesting for optimum result. Wash cucumbers well. Remove ends. Group the cucumbers into 3. Slice the first group to the desired thickness (I like mine about 3/16 of an inch). Divide the onions into 2, slice into rings. Divide the peppers into 2, dice and discard the seeds.
Layer as follows: cucumbers; onion+peppers; cucumbers; onions+peppers; cucumbers.
Sprinkle 1 cup of canning salt on top. Cover and let sit overnight. The salt draws the excess moisture from the cucumbers, so that it will retain its crispiness even when canned.
Day 2: Canning
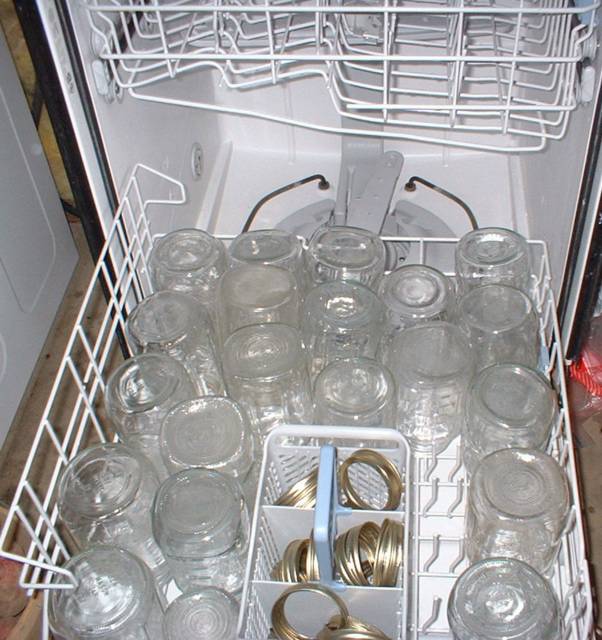
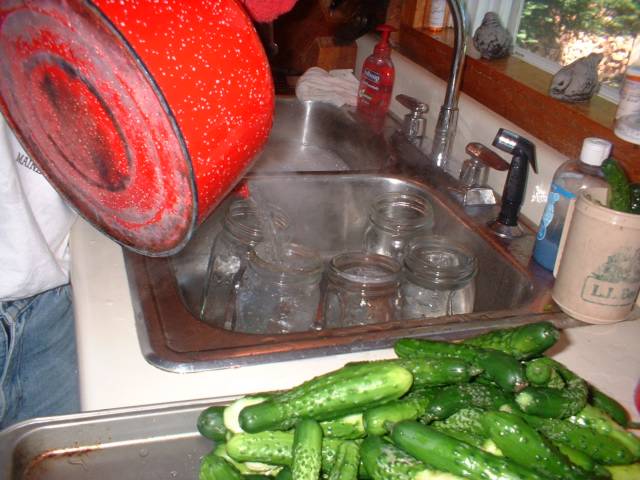
As usual, before proceeding, prepare jars and closures according to instructions in Canning Basics.
Next morning, rinse with cold water and drain. Taste cucumber. Rinse again and taste again. Repeat until the cucumbers are not that salty to your taste (just a bit).
Prepare the pickling solution and boil for 5 minutes, stirring constantly.
Pour into the stockpot of cucumbers, and heat near boiling point, stirring constantly to assure uniform cooking.
Bring back to heat up to just below boiling point then lower heat and maintain, stirring constantly to assure uniform cooking. After about 5 minutes, slices should start to become translucent. Check for doneness by trying some slices from different spots in the pot. Cucumbers should be just half-cooked and still crispy. Lower heat to the minimum to maintain heat yet not overcook the remaining cucumbers as you transfer them to jars little by little.
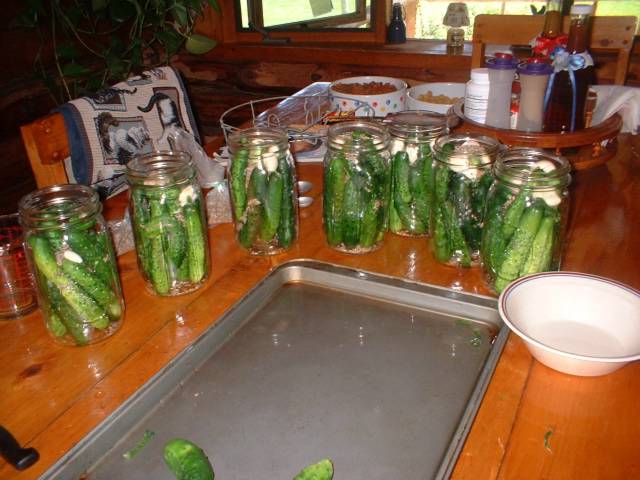
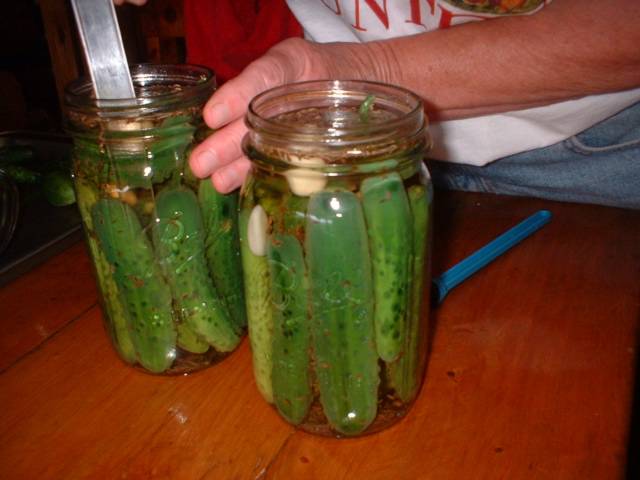
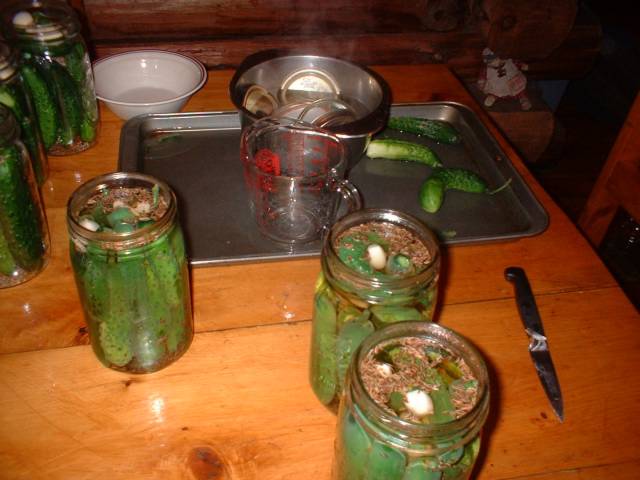
*Using wide-mouthed funnels, transfer to hot jars right away, with a good proportion of pickles to brine solution, making sure all slices are covered. Leave 1/2-inch headspace. (Headspace allows for volume contraction while the jars are cooling down so that later on the lid pops in, indicating proper seal.)
Release bubbles with a plastic spatula or a bubbler, wipe rim with damp cloth or paper towel, and close immediately with clean lid and screw band. Put on a sterile towel.**
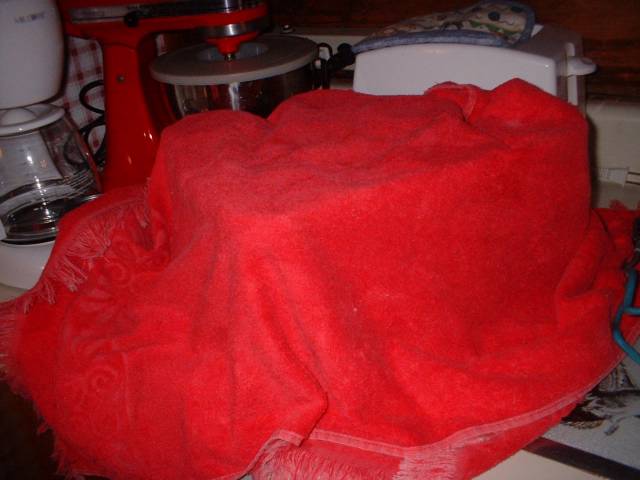
Repeat steps *-** in one smooth flow jar per per jar, stirring again before ladling. Don't fill all the jars then proceed with covering because this will not be processed in a boiling water bath. (the pure vinegar-sugar combination makes it less prone to developing botulism and is less susceptible to bacterial/mold proliferation. For every new jar filled, stir the pickles, with the heat kept to the minimum to avoid overcooking yet maintain the heat, before ladling into the hot jars. After all jars are filled, cover with another towel. Only then can you allow open windows/draft. Wait for at least 3 hours for popping sounds when sealing. After 12 hours, take note of unsealed jars and place in refrigerator, to be consumed within 2 weeks. For the properly sealed jars, let sit in the pantry (should be dark and cool) for at least three weeks to further develop the flavor. Unopened jars will remain good within 1 year from canning.
This is now my favorite pickles (hubby's fave is the dill pickles) because it comes closest to the taste of the atsara that I liked, even better. I use this with any dry (not soupy) dishes, or when hunger strikes and I am not in the mood to cook and there are no leftovers to raid in the fridge. Now I am planning to turn them into holiday gifts for the few friends that I have made in the past year.
Do you want more ideas about pickling cucumbers? Click here.